Leaderboard


Popular Content
Showing content with the highest reputation on 11/04/2021 in all areas
-
Thanks so much guys. Really appreciated! Time to play some old time hockey!1 point
-
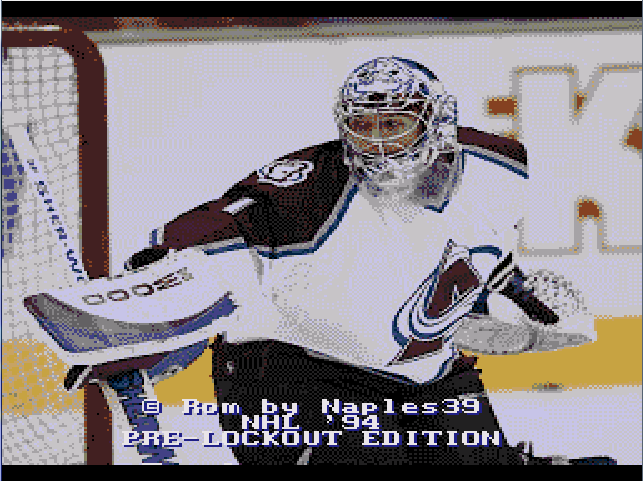
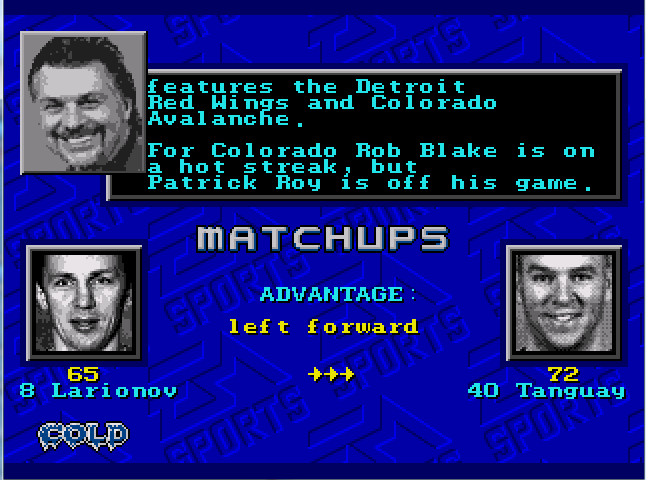
Hello Here is a rom I made in collaboration with @Jkline3, who made the opening title screen for me. I took the 2000-2004 rom made by @naples39 as a base. It's based on the 2002-2003 opening night rosters. Player cards for all starters. NHL2003.bin
 1 point
 -
Two ROMs here (Go here for Midseason update ROM http://forum.nhl94.com/index.php/topic/17330-nhl16-rom-midseason-update-by-skip/ ) V3 Update - now has smoz hacks included (more below) Tourney Edition - the tourney ROM is the same as V3, with these differences: *penalties are 1 min instead of 2 mins. If there is an injury, then it is a 2 min penalty. *99-min OT *All players aggressiveness reduced by -1 from V3 ROM *The lines are more apt to be what a GM would want their team to have (ie. Ovechkin at C instead of LW) *All home/away/PP/SH advantages are evened out. Overall team rating is based on the 6 starters avg ratings. 10/18/2015 Update - V3 of the 2016 ROM includes smoz hacks -Almost every player to wear a sweater this season is now in the game. Tweaked a few guys, moved some goalies around. I think you'll like. Smoz hacks -Added hot/cold accuracy in the edit lines -Players are now hot or cold in all categories rather than ratings all over the place -I updated the weight ratings for smoz hacks. I spent a solid couple of hours re-tooling player weights. I'd say ~40-50% of players had a change made to their weight rating for v3. I really like this change by smoz. I added a new excel file that has all of the players sorted by position. Thanks to wboy and slapshot67 for their work, but a continued huge thanks to slapshot67 for his graphics help each season! Without him, there is no Toews in the title screen, amongst other awesome s**t he does. Also, thanks to smoz for his sweet hacks. NHL16v3.bin NHL16v3.zip NHL16tourneymode.bin1 point
-
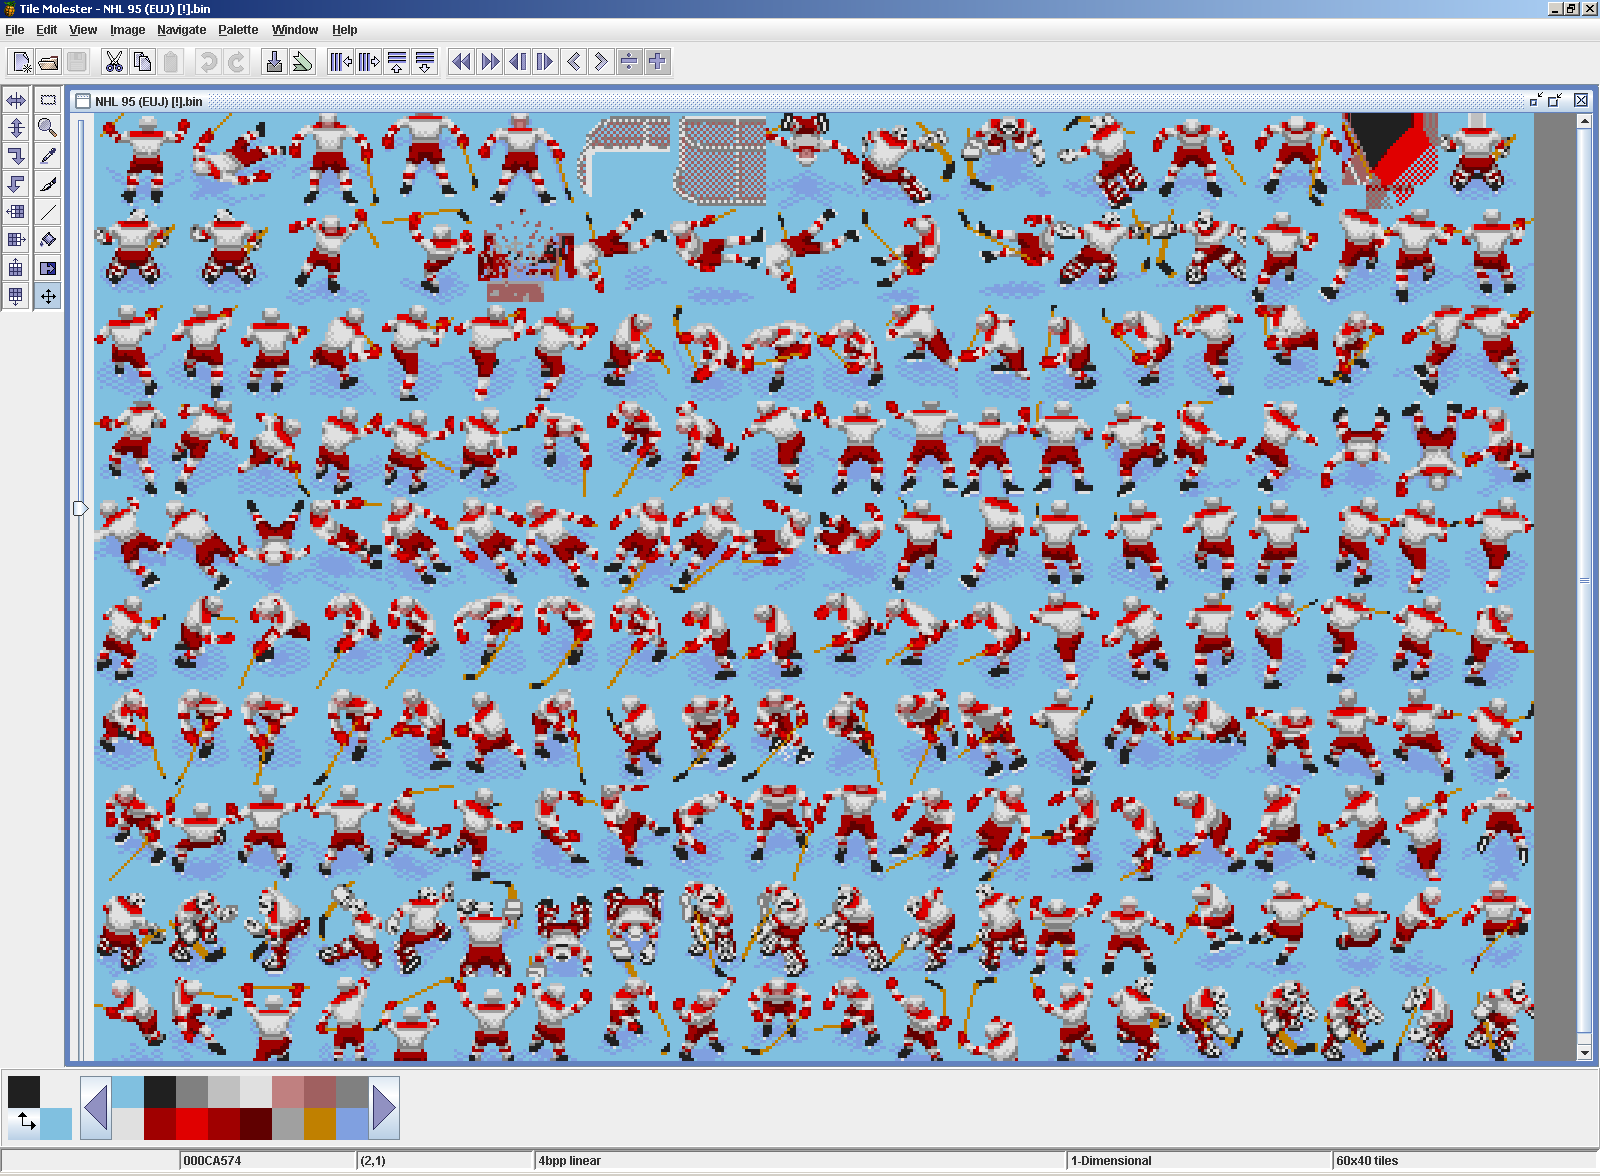
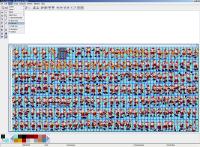
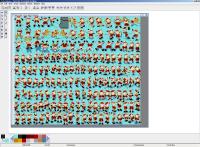
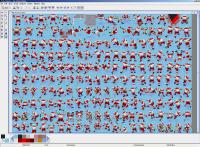
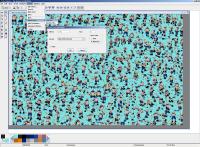
Attached are examples of how the custom block size can be used to more easily view tiles that are stored in the NHL roms as a series of columns as opposed to rows (usual method). You will also need to set the Codec to 4bbp linear, found under the View menu to make this work. tm91-1.png shows NHL91 starting at the player sprites offset using the default full canvas. While you can see it is player sprite tiles, its not to shown in a practical manor for editing. Changing the custom block size to 1 column and 4 rows makes it very easy to see and edit the player sprites (as shown in tm91-2.png). This screen shot also has the block and tile grids enabled. As shown in the other attachments, the 93 and 95 roms both work well using this same method. 94 unfortunately, doesn't seem as uniform in the way it store it players sprites, though you can still make out the sprites a little clearer using this method. Using this could allow you to do a similar strip hack as made by swos for the nhl2006 roms in other year roms. Using the fill tool (paint-can icon) makes it quite easy to change the shoulder and blade colors. 94 wont be as easy, so many props to swos for the shear effort made in doing the strip hack! (and in Tile Layer Pro I gather?) NOTE: When attempting to change the column and row fields in the block size window, backspace out the original value first. Not doing so can sometimes make it behave as if you can't change the value when you can, you just have set the cursor at the end and backspace away the original values. Additionally, as shown in the 94 screenshot, you can import palettes from the rom. You need to use one of the team strip color offsets in decimal, set the size to 16, format to BGR 9bpp, and byte order to Motorola. I learning to love tile molester so much that I won't need to add graphics editing to NOSE! Now if only I can stop diverting to other stuff and get back to finishing the player card editing tutorial.
 1 point