Leaderboard


Popular Content
Showing content with the highest reputation on 03/08/2023 in all areas
-
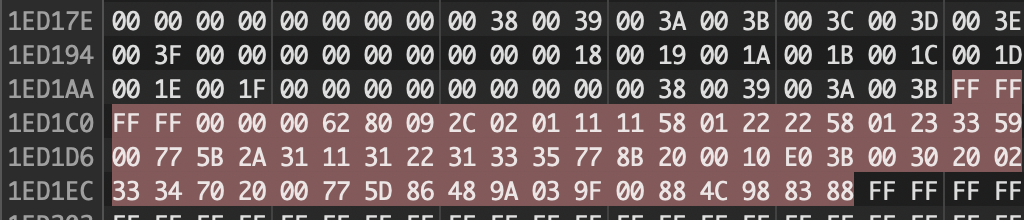
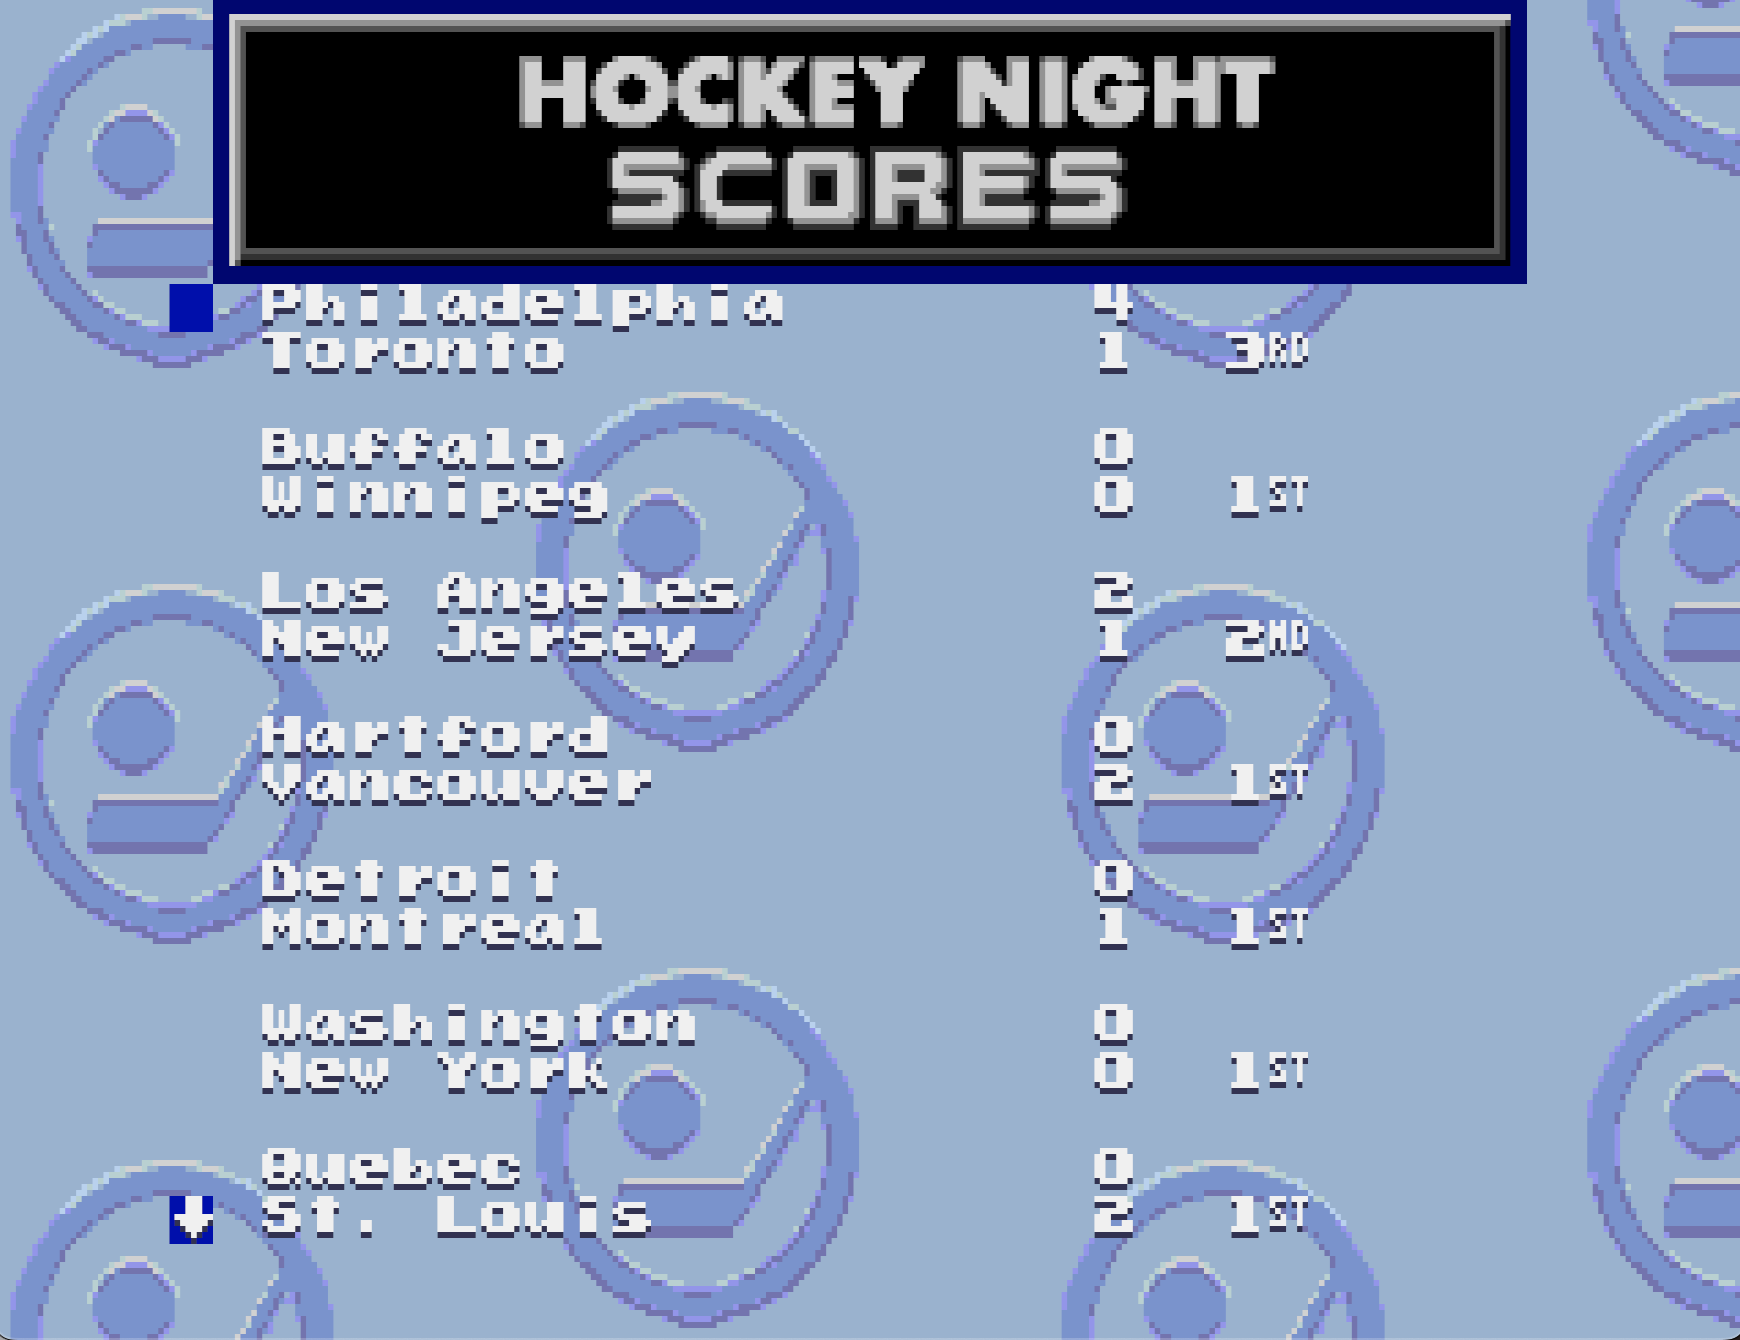
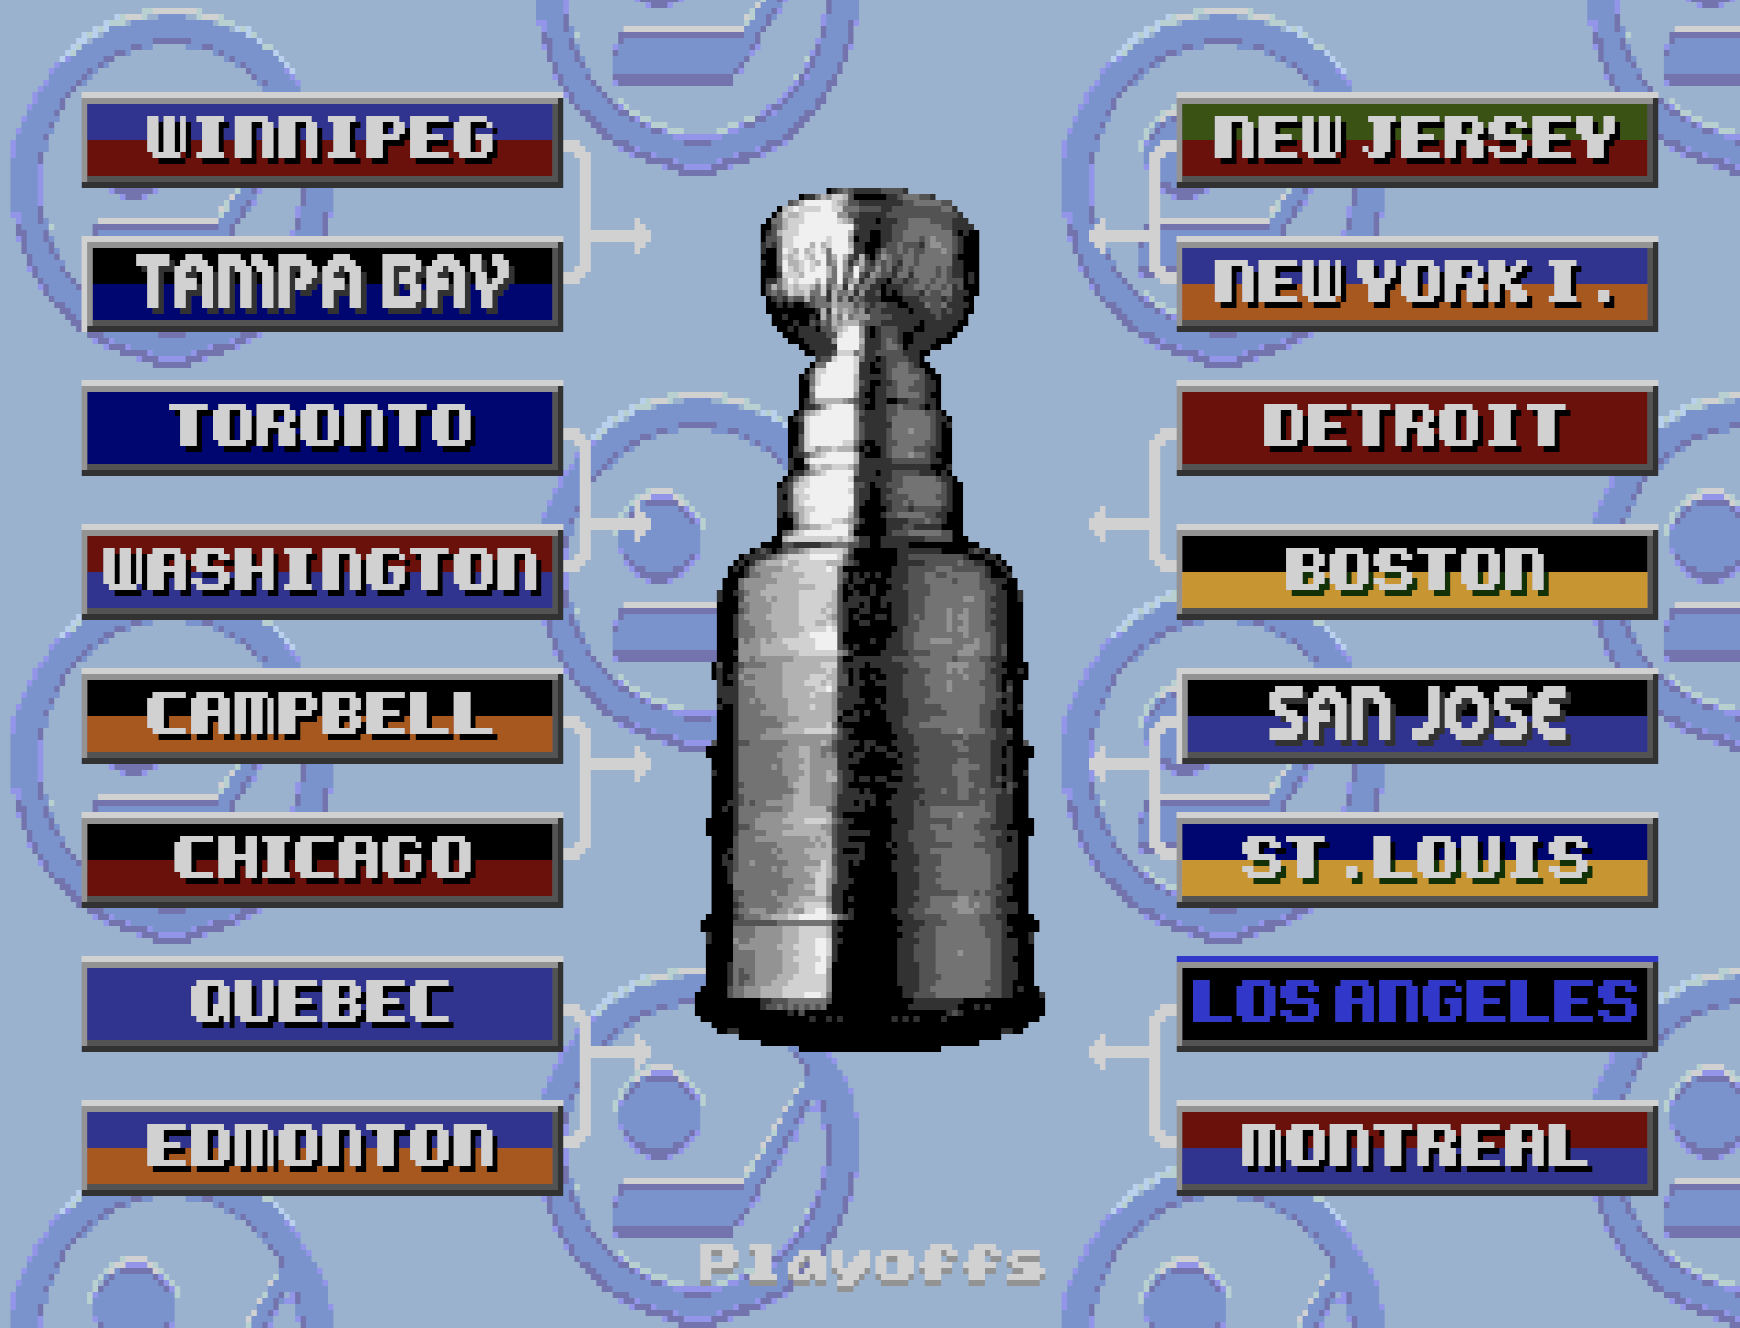
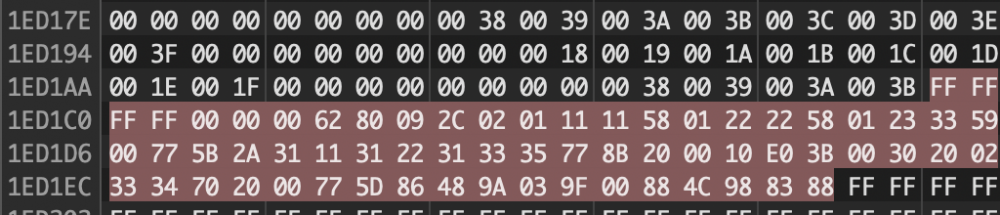
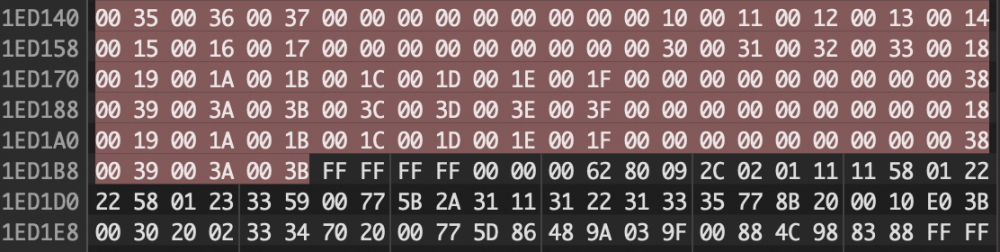
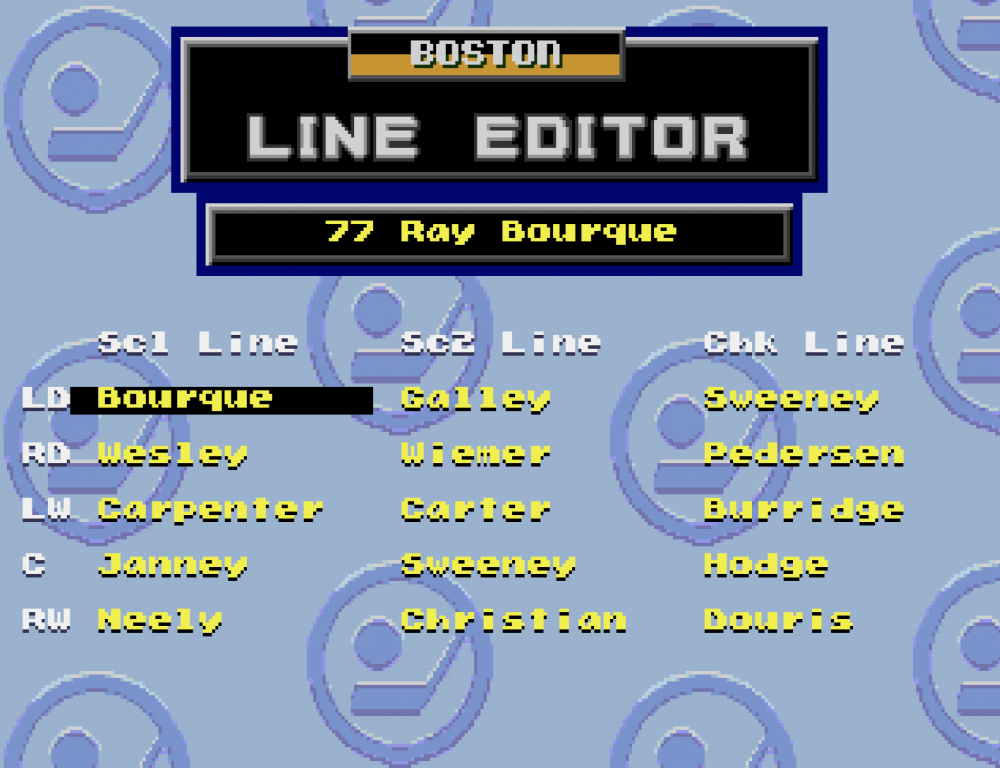
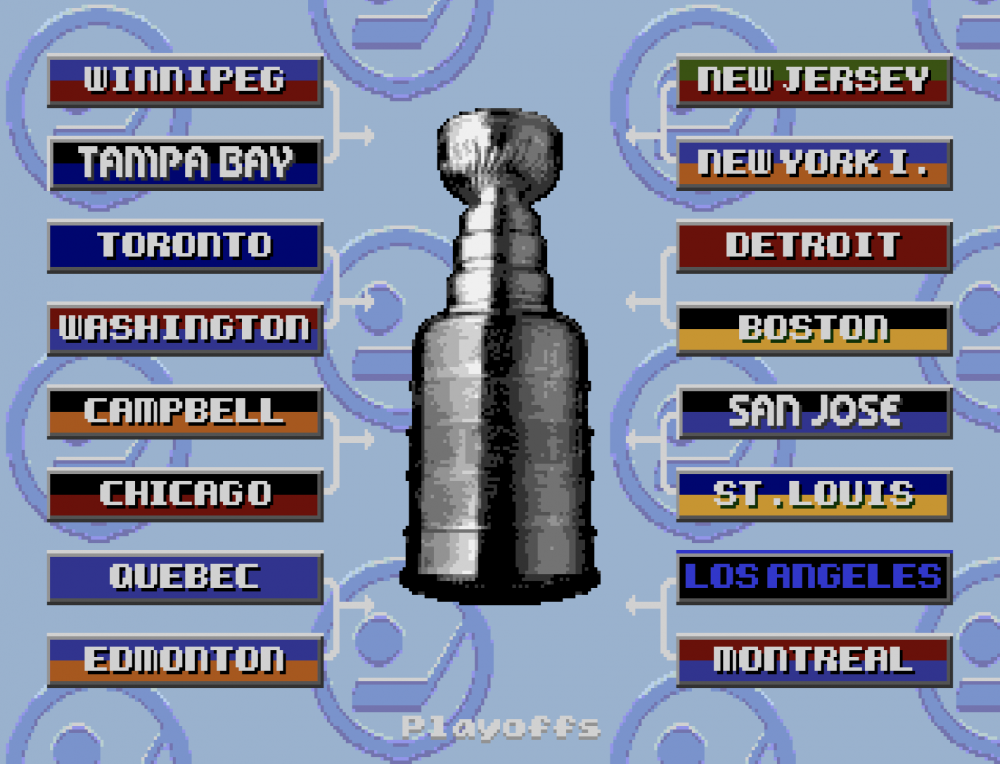
If you read my original post about editing the background tile (found here) you can see how we can finally have our own branded backgrounds for custom ROMs. The issue I found though, was that it didn't work for the backgrounds in the game menu (Edit Lines, etc). I have now figured how to get them to display correctly. It takes a couple of steps, but now YOU can have your very own custom background tile for your modding pleasure. STEP ONE: Complete the first part of the background tile tutorial. Follow the EASY WAY if you don't care how it's done and you just want it done. (LOL) Then come back here for the next stages. STEP TWO: There are 6 instances where the tile data is accessed. We already changed one in the first part. Here are the remaining 5. 0x9C53 - Edit Lines Screen 0x9C85 - Game/Player Stats, Crowd Meter, League Records etc 0x173D9 - Playoff Tree 0xFB0EB - Record Holders (?) 0xFC99D - ? I'm not 100% certain on some of them, but when I changed the offsets from the old to the new background tiles it worked. So do this: Navigate to each of those offsets, and where it says 054E24, CHANGE that to 1EC070 (if that is where your new graphic was placed). STEP THREE: Go to offset 055B7E. This is part of the OLD tile data structure which I believe contains some kind of return function and will render the background properly. I copied 64 bytes (including the FFs) and pasted that at the end of the new data we created in Part One - you paste it right after the tile layout data (see the example below - 003B is the last tile in the layout) STEP FOUR: Now, speaking of tile layout data... we need to copy this NEW tile layout data and overwrite the OLD data for this hack to work. Scroll up to offset 1EC8FE . This is where the tile layout data starts (if you placed your tile in the same location as the Part One tutorial). You'll know you're in the right place if you see 0028 001C. That is the area that the tiles will cover (40 x 32) and is the equivalent of a full screen, so we know we're in the correct spot. Copy all of the data starting after 001C until you hit the spot with the data with those FFs you pasted in earlier. You have now copied the tile layout. Now we're going to PASTE that in the old location and finish up. STEP FIVE: Go to offset 0552BE. If you see 0028 001C before it, you've come to the right place, my friend. Paste your tile layout data here. It should be the EXACT same number of bytes. Save a BACKUP... in case you missed a step. Fire it up in an emulator and go through the menus to see if your new tile showed up. It should look something like this. (disregard the playoff matchups, it's still a WIP hahaha) And there you have it, folks. The elusive background tile mystery has been solved. Now get out there and make some custom ROMs.


 4 points
 -
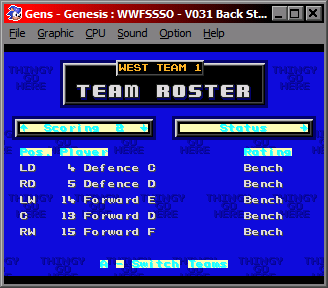
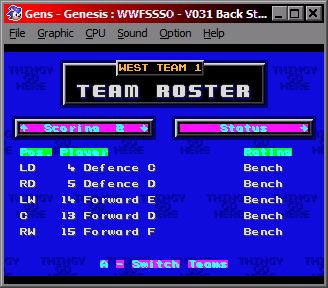
So I guess I have two questions. 1. I found an instance of a 054E24 at offset 870F. Weird thing was that when I changed that one to my new offset, it changed the Line Editor screen background, but when I changed it back to the original 054E24, it messed up the tiling pattern on same background. 2. I glitched all of the menu overlays on my first attempt, so I'll need to re-examine what I did there and try again, but in testing the game after Step 2, I noticed that all of the backgrounds looked just fine, but a lot of the text would look like this now. Edit: Well that was quick. On a hunch I checked the third and fourth palette that were included in the redirection instructions. Noted that the colours matched what I had in there as place holders and changed the light colours and voilà. Green is the 3rd palette, Magenta is 4th. I guess I just need to change them to match what they used to look like when they referenced the original palette. So I guess my follow up question is: I don't actually understand what Steps 3 to 5 do.
 1 point
 -
Thanks guys. I’m both relieved and depressed to hear that there doesn’t seem to be any better way of doing it. This still leaves me thinking about a couple things… What are these headers? Other than being 10 bytes, I have no concept as to what they are, if they can be safely moved, etc.1 point
-
I've often wondered if you could jam all the palette data at the end like the banners...Then you could have one continuous strip of players. But that would require messing with the header too and making it absurdly large. I just labeled all my portraits by team, then according to the order listed in Nose from 0-26, followed by their name. I could see how a contact sheet might work, but that's a fair bit of setup in itself. I hate the portraits. They're so tedious!1 point
-
I don't know about a contact sheet, I just know that those ten bytes between pictures is a pain for importing. Not sure if there is something better, but the method I've settled on involves opening two files in TM and set to Go To Offset on relative mode of Hex 36A. Then I use one as my scrap file [usually just a previous save] and set the window size to 6x128 tiles. Since my photoshop file of all of the player photos is arranged as a giant cube so I can edit all of them at the same time, I just import it, usually one team at a time to make sure they look good. Then it's really just a matter of resizing it to 6x6 and mashing page Down, ctrl c, click [next window], F5, ctrl v, click [first window] a bunch of times until you get to the end and it's time to import the next team. I suppose a keyboard macro might be a good idea here, but the paranoid control freak in me likes to observe the entire process in case I need to make changes. Ideally it might also be possible to set up a photoshop action that could arrange the photos and compensate for the pointer info, but so far that feels like a self check-out at the grocery store. Automation that feels like more work than just doing it the old way.1 point